
If you want an easy way to control your LED lights, a remote is a perfect option. Now that home automation has become more mainstream, the LED fixture is one of the most popular devices.
No to mention, the US government’s tight grip on ensuring a cleaner environment and cutting the use of traditional light bulbs in the years to come.
Thus, here are the steps to set up a remote-control LED light.
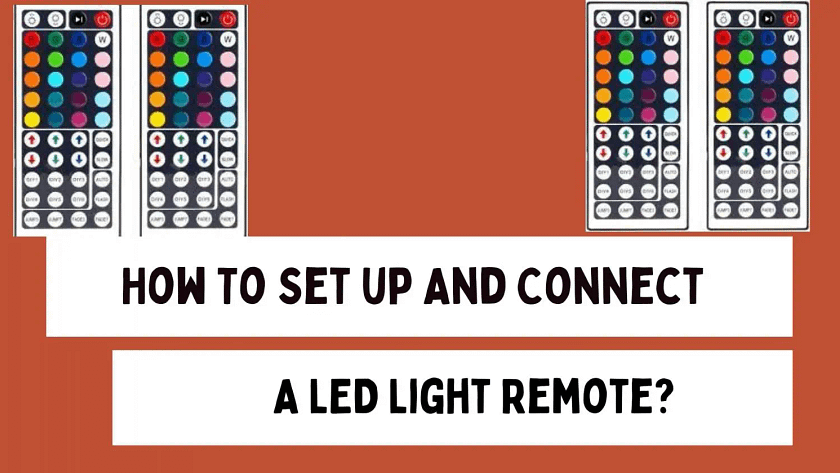
How to Set Up And Connect A LED Light Remote
- Begin assembling your LED light, and connect all the parts—including the power supply, controller, and LEDs.
- Once you’ve assembled the lights, decide where to hang or place them.
- Next, plug your LED light into an outlet. Be sure to use the correct power supply for your LED light.
- After inserting the batteries, test your remote to make sure is working.
- Press the red On button while pointing the remote to the LEDs.
- Now you can adjust the settings on your remote control. You can adjust the color and add any other features.
- Go to the manual to ensure that you are exploring all the features on the remote.
Syncing The LED Strips To The Remote
For your remote to work, you have to properly sync it to your LED strips. You can sync your LED strip light with a remote by pairing the two devices. The light strip will typically respond to any button on the remote once they are synced.
When syncing a LED strip to a remote, hold down the sync button for four seconds. You should notice a flash or blinking lights.
If your LED strip light has lost connection with the remote, you may need to resync them.
Pressing and holding the sync button on the light for a few seconds will re-establish communication between them.
LED Remotes Troubleshooting
Like with every device, there is some troubleshooting.
To ensure your strip lighting works properly, unplug them and reconnect. Once all the lights are working, then the problem lies with the remote.
The Battery
A common issue with a new LED remote is the battery that comes with the package is low. Thus, replace the battery and re-sync the strips to the remote.
Interference from other devices
Radio-frequency (RF) remote use radio waves to control electronic devices like your strips. These remotes are susceptible to interference from other electronics that emit similar signals. To rule out this problem, turn off any devices that use RF frequencies. If your remote regains signal with the strips, then adjust the remote receiver or replace the battery.
Your Remote Disconnect From The LEDs
A common problem with remote controls for LED strip lights is that they lose their connection to the receiver when either a) the battery becomes low or b) there is too much distance between them.
If this happens, the remote is working, but it can’t control the lights.
- Turn off power to the LED strip.
- Remove the remote control unit’s battery. Unplug both ends of the dimming wire from it as well
- Inspect the LED controller, then replace its batteries.
- Hold down both the “SPEED-” and “SPEED +” buttons for a few seconds, until the indicator blinks once.
- This should repair the signal between the LED strips and your remote.
Check The Sensor
Next, determine if the infrared sensor is working by using your phone camera to see if it picks up on any invisible light. If the light is visible, then the sensor is working.
To Recap,
With new strip lights connecting the remote is very easy. Point the sensor to the strips, and it will work. But, some remote requires that you sync both devices. Apart from physical damage, dead battery, radio interference, and disconnection can prevent your remote from working.


